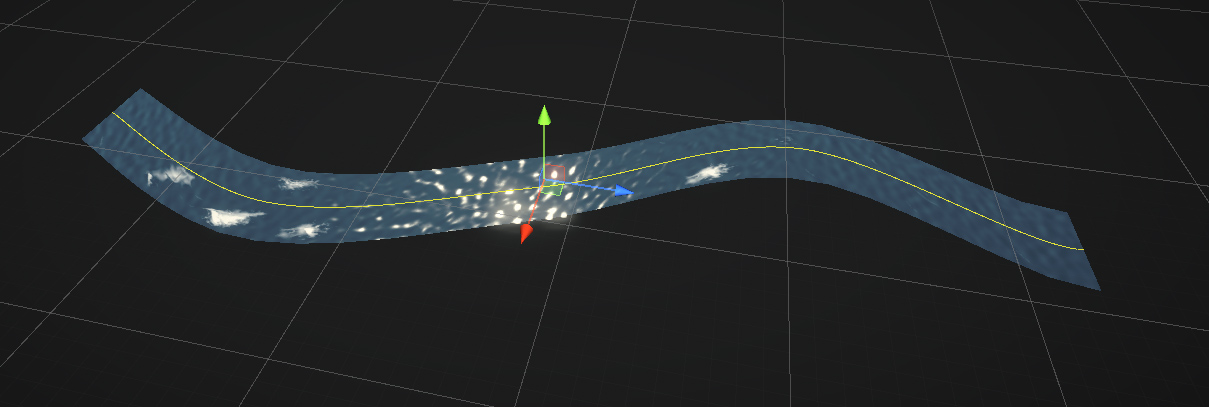
River Modeler
2.Getting Started
Importing
Project Setup
Packages
Ensure you have the following packages installed before importing:
- Splines 2.4.0+
- Visual Effects Graph
- Mathematics (already installed with Splines/URP)
- Shader Graph (already installed with URP/HDRP)
- If you had to install the Shader Graph package, please right-click on the asset’s folder and choose “Re-import”. Otherwise the included shader graph fails to compile into actual shader code!
You can, however, install it manually like so:

Using this asset with 2021, whilst likely error-free, is not supported. It is not tested on nor subject to support.
Rendering configuration (URP)
If you intent to use the included water shader (as opposed to Stylized Water 2/3), be sure to enable these features in your pipeline asset:
- Depth texture, for underwater fog (Having this disabled makes the water invisible on Android).
- Opaque texture, for refraction of underwater geometry seen through the water.
Scene Setup
River creation
To create a new river object, go to GameObject->3D Object->Water->River

In the dialog box that pops up, you can choose to create the river along with a new spline. If not, you are to assign the spline to use in the inspector.
This will create a GameObject with a River Modeler, Mesh Filter and Mesh Renderer set up.
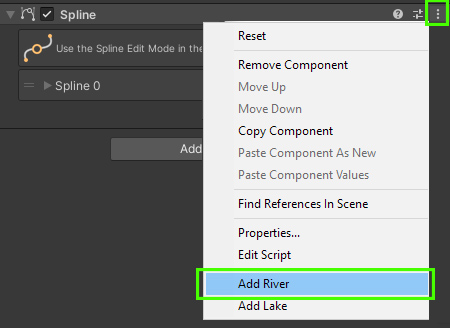
To add a river to an existing spline, an option is available in the Spline component’s context menu

Notes:
- The River Modeler and Spline Container components do not necessarily need to be on the same object. Neither does the Mesh Filter!
- Scaling the Spline Container object is supported, but this only yields correct results if the Mesh Filter component is entirely separate
River editing
There are two modes of editing: Spline changes and Component parameter changes.
The Spline editor can quickly be opened through the “Edit” button.

With the new river created, you’ll already notice that the river geometry reacts to the Spline’s shape as you adjust it.
This is the crux of the workflow, but the River Modeler component holds various others settings.
Next steps
Further subjects:

