
River Modeler


4.2.Blending water bodies
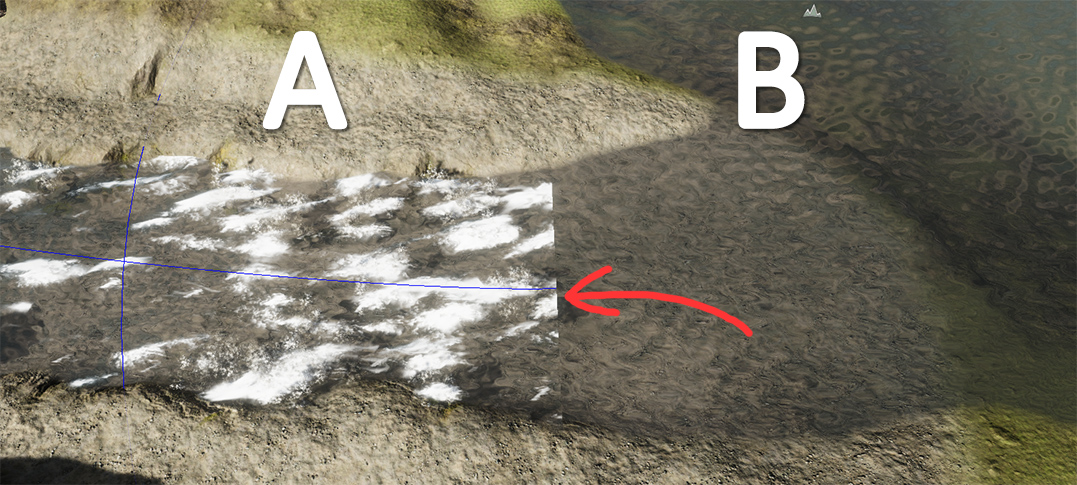
It’s a realistic use case for an environment to have a river that feeds into a lake/ocean, or one river meeting another.
Overlapping the geometry where they intersect tends to achieve this for the most part, but the intersection is usually visible.
For this example, lets consider two bodies of water A and B. A being a river, and B a lake.
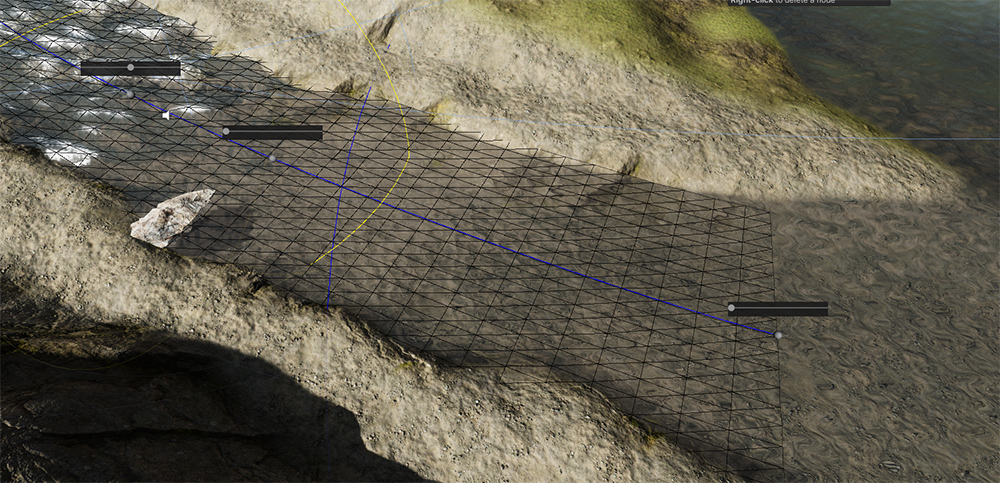
Step 1
Ensure the geometry of A and B sit at the same Y-position, so that they meet.
For the river spline, level out the very end of the spline by setting the Y-position of the 2nd last knot to match that of the last knot.
It simply needs to be flat at the end, since the lake is also flat.
Step 2
Configure the River (A) to render on top of the Lake.
On the River Modeler component, you can control the rendering order. So set this to +1 on the river

If B isn’t a river, you won’t have this control option.
Instead, make sure that the material used on B renders on the 2999 render queue

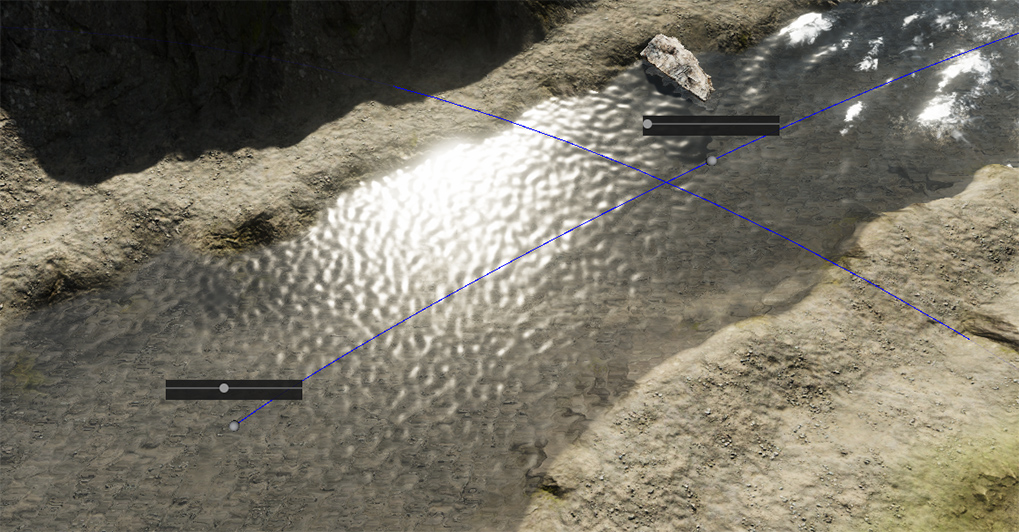
Step 3
Use the Spline Tools to flatten the Displacement, and subtract any Foam at the end of the river.
Step 4
Finally, use the Spline Tools to adjust the Transparency at the end of the river to fade it out
You may notice the waves don’t exactly match up between two bodies of water. That is attributed to the UV coordinates being different.