
Stylized Water 2 - Underwater Rendering (Extension)
7.Performance guidelines
In order to achieve the full underwater rendering feature, a variety of operations have to be performed. That said, it will not come without a performance cost, how big really depends on the hardware you’re running it on. On a GTX 1060 at 4k, the effect takes up ~0.01ms GPU time, and 0.02ms CPU time.
It can be pinpointed to the effect requiring a full-screen buffer copy, which taxes the available GPU bandwidth. This is fairly common on low-end/mobile hardware.
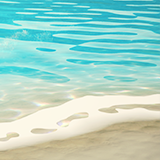
The performance impact is constant, no matter the scene’s complexity, but is resolution dependent. Rendering is only performed once the bottom of the screen touches the water, so it has no impact otherwise. When a camera is fully submerged, rendering for the half-in/half-out effect is skipped entirely.
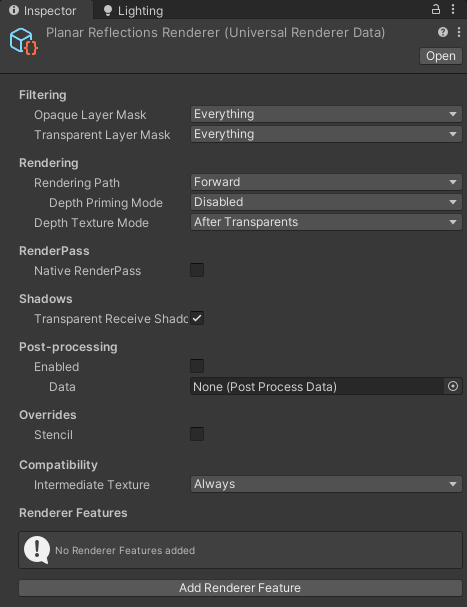
On the Render Feature, you’ll find several options aimed at quality/performance scaling. If you are using a different pipeline asset per quality level, you can configure it to for lower/faster quality on some quality levels.
All options have tooltips, mouse over it to view a description.

Multi cameras
Any camera that is hidden, or is an Overlay camera, will be skipped for rendering. Though in the case of a camera that’s rendering to a Render Texture for special or practical effects, underwater rendering will also take effect for it. It’s likely this’ll cause visual issues, or at least wastes performance.
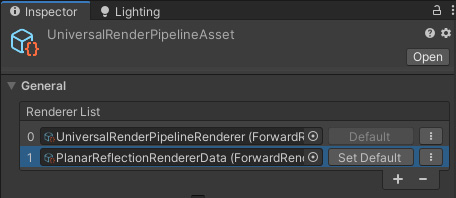
The solution is to create a separate “empty” renderer, specifically for these type of cameras. To do so:
In the Project window, right-click and go to Create->Rendering->Universal Render Pipeline->Forward Renderer (or Universal Renderer in 2021.2+).
Next, in your pipeline asset, add the new renderer to the Renderer List (repeat this for any other pipeline assets used in your Quality Settings).
On the Camera component, configure it to use this renderer, instead of the default one.