

4.Using the editor
The wire editor can be activated by selecting any object using a script from this package and pressing the “Edit Wires” button in scene-view window.
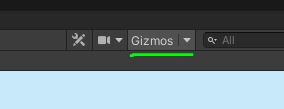
Ensure that Gizmos are enabled for the scene-view, otherwise the button isn’t able to show:
You’ll notice a window pops up in the bottom-right of the scene-view.

- Toggle context-sensitive instruction labels
- Toggle visibility for the various elements.
- Close editor
Toggling the Groups or Connectors will prove useful for groups with only 1 connector. Otherwise they will overlap
Edit mode
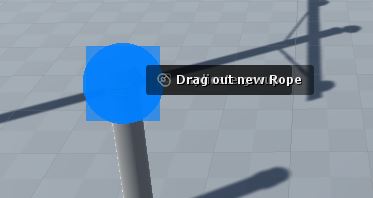
While holding down the CTRL/⌘ button, squares will appear on all connector groups, and circles on connectors and wires. These represent interactive points.
Hovering over such a point shows a text that describes the possible interaction. Actions are performed by clicking the left-mouse-button.
Delete mode
Holding down CTRL/⌘+SHIFT will make the circles turn red. When you hover over a circle and press the left mouse button, the object will be deleted.
Tips
- If you parent your objects under another object, any created wires will also be parented to it. This avoids cluttering the root of the scene hierarchy, or new objects being created in the currently active scene instead.
- You can turn the gizmo icons off under the “Gizmos” menu in the scene-view toolbar. Click on the icons to toggle their visibility.