
Pending release
Documentation is a work in progress draft!

4.2.Setup

Adding an effect
- Go go GameObject->Volume->Global Volume
- Use the “New” button to create a new volume (or assign an existing one)
- Choose “Add Override” and pick any effect from the SC Post Effects category
Rendering effects
There are two ways to have effects added to a Volume rendered.
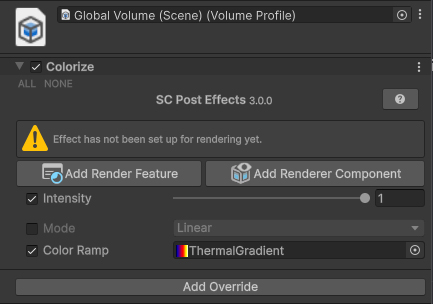
| Render Feature | Volume Renderer Component | |
|---|---|---|
| Rendering mode | Executes for all cameras using the same renderer | Executes for all cameras while component/GameObject is active |
| Effect-specific rendering settings | Available | Default settings used |
| Quality/Performance settings | Available (thus changable per renderer) | Default settings used |
| Rendering Order | Configured on renderer | As configured on Volume |
Rendering effects entirely through C# Script is also possible, see the Scripting section for more information.
Post Processing Volume Renderer
This specialized component will grab all the effects from the attached Volume’s profile and inject a Render Feature for all eligible cameras.
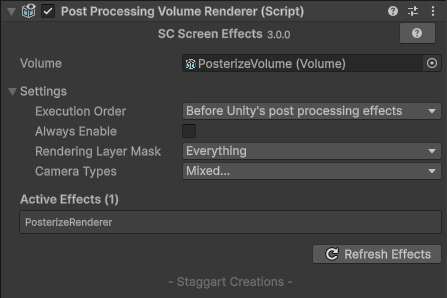
This makes for a straightforward set up, rendering is managed by the component. So disabling it also disables the effects.
The downside is that some effect-specific settings (such as quality/performance scaling) isn’t available.
Render Features
An effect can also render using a Render Feature. These are configured on a Renderer, which a pipeline asset in turn uses. Different pipeline assets can be assigned to different Quality Levels. This makes it possible to set up effects only available on certain quality levels.
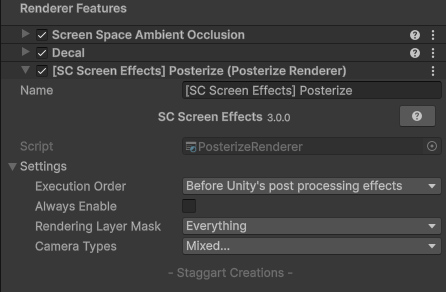
If an effect has a Render Feature set up, then this button will be available. It’ll open a pop-out window to edit the render feature, without needing to navigate to it.
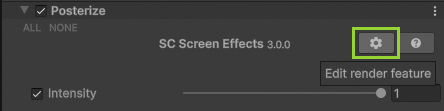
Some effects have effect specific settings that are available here:
- Edge Detection
- Tilt Shift
- Fog
- Hue Shift 3D
- Light Streaks
Intensity Parameter
Every single effect will have this. It is set to 0 by default to facilitate Volume Blending, and to avoid all effects from rendering through your projects Default Volume Profile.
You must first Override the parameter
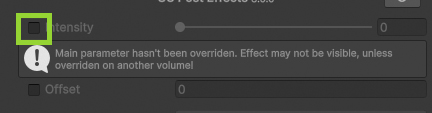
Then set the value to anything higher than 0
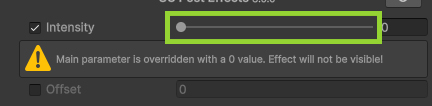
This may appear to be counter intuitive at first, but this is to make effects work correctly with Volumes in Unity. If the parameter is set to 1 by default, it would always render through your Default Volume Profile.
For more information see the Unity manual on the subject.
 Was this helpful?